
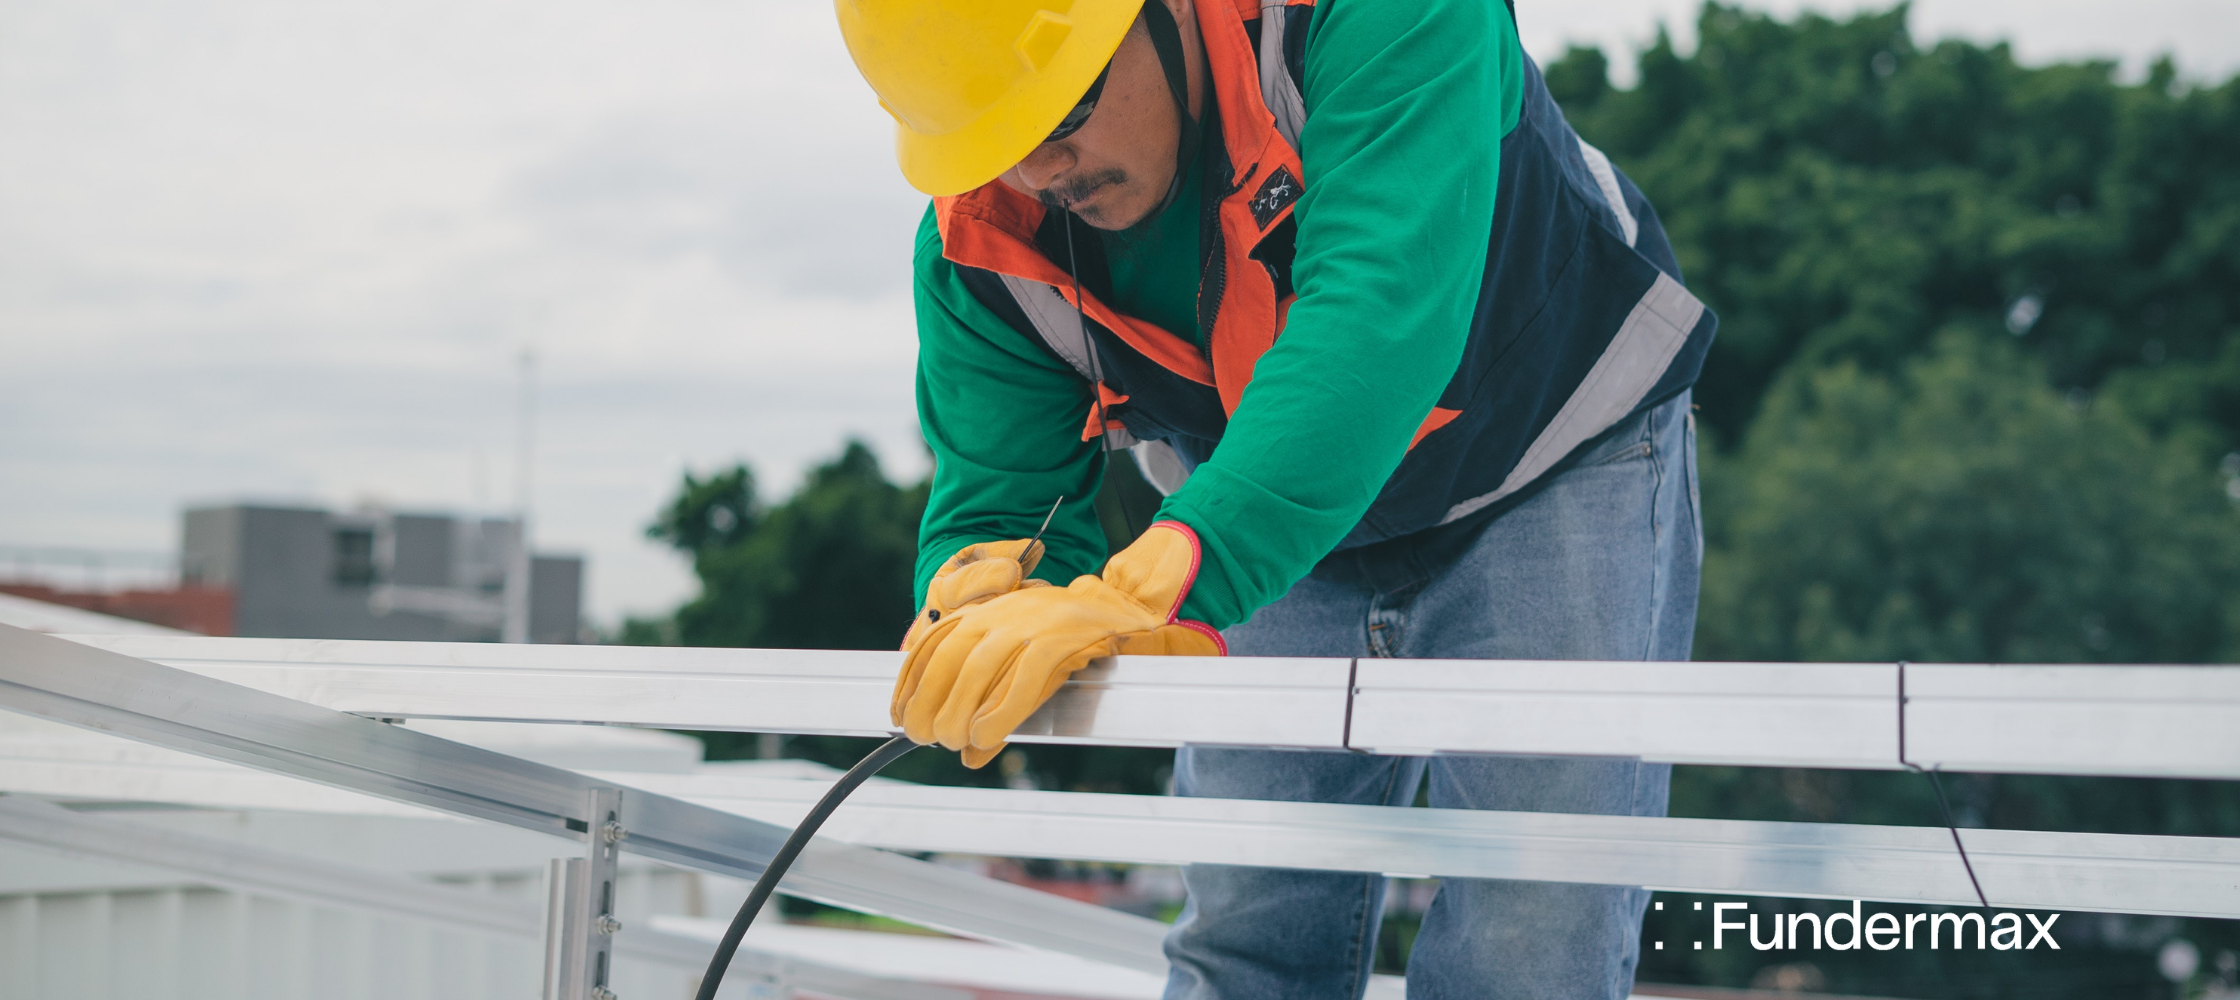
Information abounds regarding the benefits of phenolic wall panels, and one commonly mentioned benefit is the ease of installation.
This, of course, begs the question: how do you install phenolic panels?
As a century-old and globally trusted phenolic panel manufacturer, we are pleased to share our instructions and tips for phenolic panel installation.
What Are Phenolic Panels
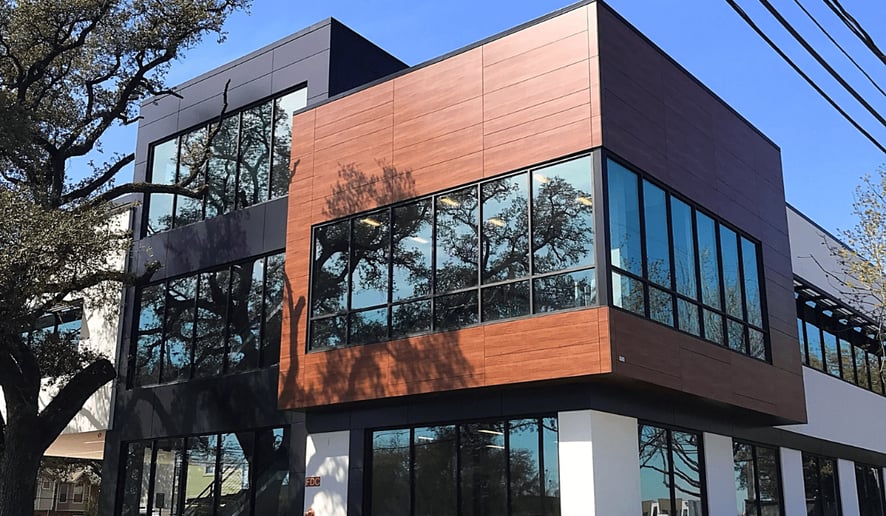
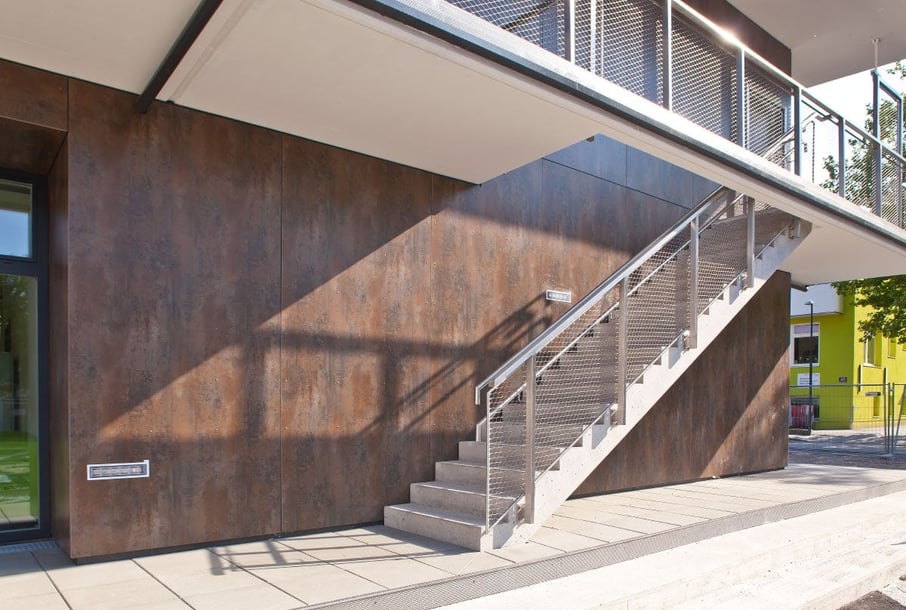
Phenolic panels (also called high-pressure laminate or HPL panels) are manufactured with natural core materials, decorative layers, and thermosetting resins cured under high heat and pressure.
The result is a highly resistant architectural panel. Crafted for ultimate durability with maximum design freedom, phenolic wall panel systems provide a versatile and sustainable option for architects and designers around the globe.
What Factors Affect Phenolic Panel Installation
There are three main factors that can affect phenolic wall panel installation: substructure material, mounting orientation, and fastening system.
Substructure
The three primary options for substructure materials are wood, steel, and aluminum.
Wood
Wood is an accessible and sustainable option but can have a shorter lifespan. Most phenolic panel manufacturers recommend using an EPDM membrane for wood substructures.
Steel
One benefit of steel is the wide availability of hat and zee shapes, but the steel must be 16 ga or higher, and cut ends must be painted to avoid corrosion. Not all phenolic panel manufacturers allow for steel substructures, so compatibility may also be an issue.
Aluminum
Aluminum has a far superior lifespan than wood or steel, making it a great value as a substructure material. There are also many supplier options, and compatibility is essentially a nonissue as all phenolic panel manufacturers allow the use of an aluminum substructure.
Mounting
Regardless of the final design aesthetic, when it comes to the actual phenolic panel installation, there are two mounting options: horizontal or vertical.
Horizontal
Overall, horizontal wall panel installation tends to be faster and more straightforward than vertical.
Vertical
Vertical phenolic panel installation can be more challenging and time-consuming but can also offer even more durability by mirroring the vertical path of precipitation.
Fastening
Fundermax panel installation offers four fastening system options: Exposed, Concealed, Modulo, and Scaleo Lap Siding.
-png.webp?width=180&name=Exposed-fasten-system%20(2)-png.webp)
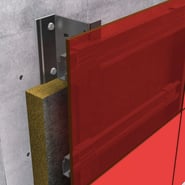
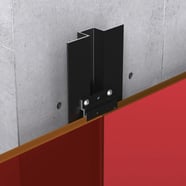
Exposed Fastening System
An exposed fastening system does not conceal the fastening points. Fundermax exterior phenolic wall panels and color-matched screws allow for maximum design freedom at an economical price point.
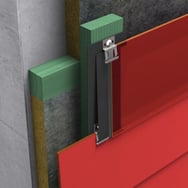
Concealed Fastening System
A concealed fastening system is how to install phenolic panels without exposing the attachment points. This is achieved by using anchors embedded in the back of the phenolic cladding panels that hang on horizontal rails attached to vertical wall brackets.
Modulo Fastening System
Modulo employs a concealed fastening method that utilizes a hidden clip system installed with routed edges in the panels. Phenolic wall cladding panels in this modern plank system can be installed in a running bond, stacked bond, or a combination of the two.
Scaleo Lap Siding Fastening System
Scaleo Lap Siding is an application of concealed fastening that is easy to design and use. The lap siding system provides a robust, modern exterior façade.
For more details on each fastening system, including downloads available in Adobe and AutoCAD formats, click here.
How to Install Phenolic Panels
1. Inspect the Wall Substrate
-
Prior to the installation of a phenolic wall panel system, including the phenolic cladding panels and underlying substructure, the wall substrate must be inspected by the installing contractor to ensure that it is in good condition.
-
Typically the substrate must be plumb and true with a maximum variation of ⅛” in 10', but this tolerance can vary. Refer to the project specifications for your particular project, and report any problems to the General Contractor or Owners Representative. Deviations from the specified requirements must be corrected prior to the start of installation.
2. Determine Panel Configuration and Install Substructure
-
Measure the wall to determine exact panel locations and starting points for the phenolic panel system layout. Mark the positions of the subframing on the wall per the substructure shop drawings when provided, and follow the manufacturer's instructions for the correct fasteners, as they may vary depending on the wall substrate.
-
Where applicable, follow the manufacturer's recommendations for fixed and sliding point fasteners in the aluminum extrusions. Verify that the actual phenolic panel positioning coincides with the substructure layout during substructure installation.
-
Correct positioning of the subframing is critical to the quality of the final product because it determines the positioning of the phenolic cladding panels on the wall. Errors during this part of the installation can cause significant losses of time later in the installation.
3. Prepare and Install Panels
-
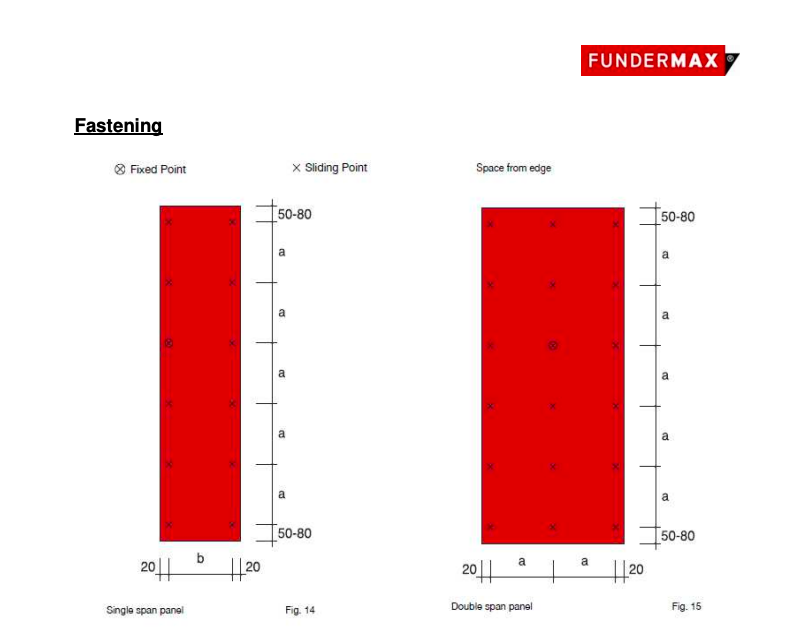
During phenolic panel installation, to ensure the exterior phenolic wall panels perform properly, special care must be taken to allow for panel expansion and contraction. This is achieved in Fundermax panel installation by using a Fixed Point and Sliding Points.
Note: Fundermax panels are intended to be cut to size and drilled under controlled workshop conditions, with field cuts and drilling kept to a minimum (window openings, corner details, mechanical penetrations etc.). For field drilling of holes, it is critical that the proper tooling be used. Proper tooling requirements for Fundermax panel installation are provided in this document.
-
It is critical to the performance of the phenolic cladding panels that a “centering tool” be used during installation. This tool ensures that the fastener is centered within the Sliding Points, which are slightly oversized holes in the panels.
-
It is also critical that the center point of the drill hole in the substructure coincides with the center of the hole in the phenolic panel. Drill with a centering tool. Installations without centered fasteners in the Sliding Points may cause the panels to cup or bow on the walls.
-
Install fasteners from the middle of the panel outwards, and throughout installation, check to ensure that panels are level. Quality control during installation is the best way to ensure a proper end result.
For additional details specific to Fundermax panel installation, including our downloadable resource library, click here.
Benefits & Applications of Exterior Phenolic Panels
The benefits and applications of exterior phenolic wall panels are extensive. Below, you will find a sampling of the most notable features and uses of phenolic resin panels. For a more in-depth evaluation, consider this Guide on the Versatility of HPL (Phenolic) Panels.
Benefits
-
Durable
-
Sustainable
-
Long-lasting
-
Code compliant
-
Minimal maintenance
-
Weather-resistant and suitable for any climate
-
Colorfast and lightfast, with a high level of UV stability
-
Non-porous
-
Scratch and abrasion-resistant
Applications
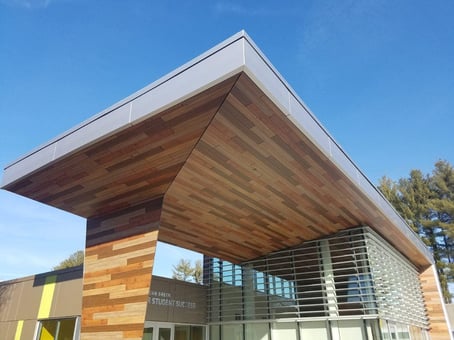
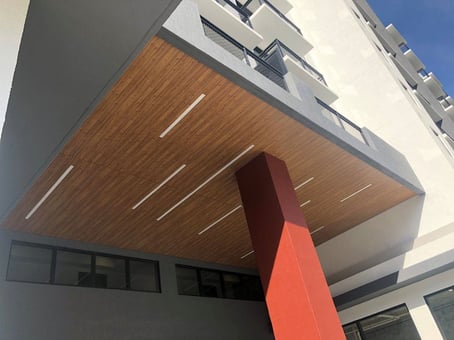
Soffits
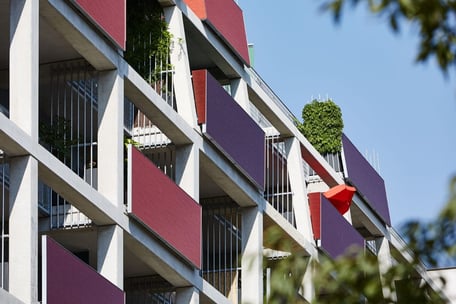
Balconies
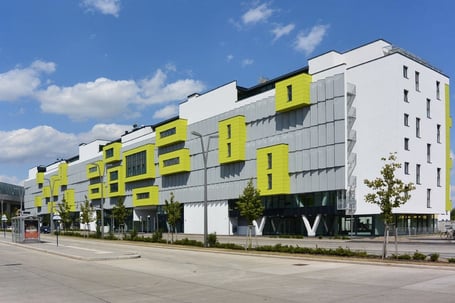
Rainscreen Facades
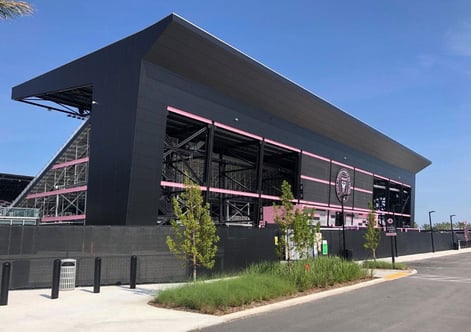
Sunshades / Louvers
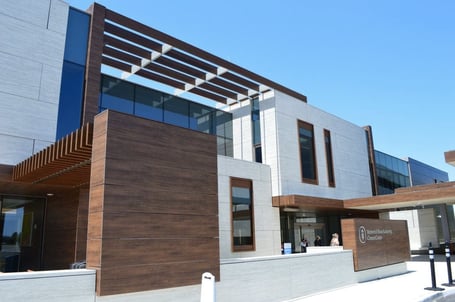
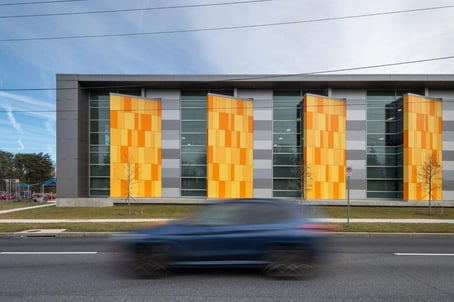
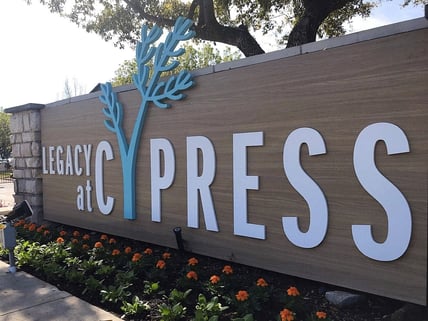
Furniture and Signage
In addition to the straightforward ease of installation, Fundermax's selection of panel sizes (more than many other phenolic panel manufacturers) and various fastening systems provide options to fit any budget or aesthetic. For questions about how a Fundermax panel installation may benefit your next project, contact us today.
 Modified on September 23, 2025